

How drawing parrot
Introduction
Marie, in the series on animals …
Yes, we are going to make drawing a parrot. I found a beautiful photo. I think it’s a parrot but I admit …
Great internal debate.
It's difficult for one to truly understand me...
A magnificent exotic bird. What interested you in this subject?
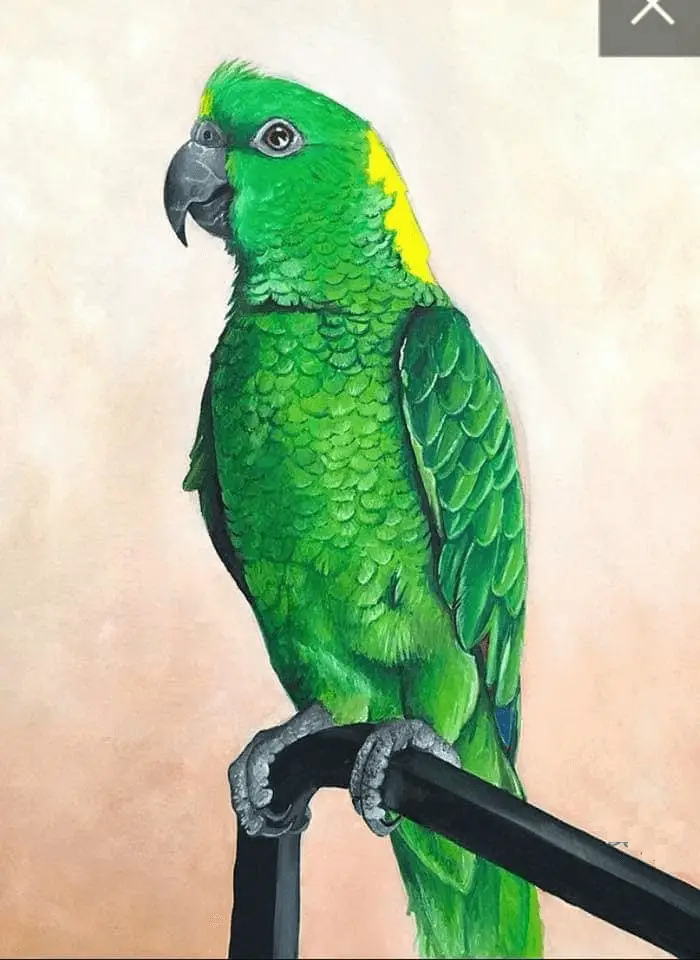
The shape initially appeared quite lean, with a noticeable difference between the size of the body and the lengthy tail. I thought it could be intriguing to portray this visually using a felt pen.
With Marie’s gaze she detects us, she unearths great subjects for us each time. We go to work.

Drawing of a parrot
Demonstration Drawing of a parrot
Regarding the material, I will work with felt so I took a multi-technique paper which is very smooth and felt it is very good. I will start by making a sketch, placing the elements in pencil and then I will come to draw with felt.
The parrot, we are going to say that it follows a kind of diagonal so I will start with that by drawing the diagonal to have its tail here and it may be large. I’m not going to do that big because it’s going to belong.
So his tail here and his head here. Its wings are about a small half. We have about 2 and a half times the height, about that I think. You can also help yourself with tiles. From this diagonal, in fact, we have here the back which is vertical and we have the shoulders that come like that.
We have a wing here, the neck, the second shoulder which is there so its wings which come out in a sort of triangle a bit like that, and then we have the tail which is still very long. It has practically the same height as the feather which comes centrally.
So for now it’s not very precise but I try to be not necessarily precise but to be correct in my drawing although we have the back. We’re going to put his head here.
I’m not trying to draw the right line the first time. I build so I put a lot of lines and it is my eye also at a given moment which tells me it is this line which is right or that one and therefore I refine a little bit at a time. You should not be afraid to put a lot of lines on this drawing, especially since then we will erase the lines that are too much.
Here is the beak therefore important the direction of the beak, this head and he has the eye which is there at the top, perched there. I’ll put the color spots on him. It will help me build.
I’m still going to put the main feathers in a bit and then I will go to felt fairly quickly.
Now I’m going to tackle with felt so what I’m going to do with felt you can also do it with a pencil so you just have to attenuate the lines a bit, re-specify them and do it with a pencil.
The use of a felt pen here allows for bolder lines and lets me experiment with the graphics. I'll start with a 0.8 point to highlight the primary lines, then I'll adjust the thickness of the pen. I plan to begin by shading some of the lines a tad.
And so I don’t just go back over my features. At the same time, I am trying to improve what I have done.
I’ll take a bit finer felt to start the head.
On this basis, I will erase my line now because in fact I hardly need it anymore.
There you go, and I’m going to come and work on my shadows, put values on my parrot. To do this, I will work by trying as much as possible to be in the direction of the feathers.
In fact, we have a whole part here that is in the shadow there When we weblink on the image we have a shadow here too so I’m going to put shadows, values in fact here we have shadows here, a little bit here, trying to work my shadows in the direction of the feathers so you have to navigate all these feathers.
I will start with the most obvious, this one for example.
There I will stop. I still take a look to see if there is not a last little bit of felt here and there. I tried to have a good shade here on the side of the parrot. We can always go a little further. We always want to go further. Then you have to see if it’s useful or not, that’s always the question.
On the other hand, the support on which it is placed I really traced it in a very basic way. I really suggested it because in fact, it’s not the primary topic.
I’m going to put a little shadow back here under the tail may be just accentuating a little bit there. What I did there with a felt-tip pen can also be done with a pencil, and therefore with a pencil,
we must not be afraid that we see the pencil line, or the graphics because there it tightens the drawing since it is done in the direction of the feathers. Here is.
Here it is, here is the beast. This is the end result. You will of course have it for download. Difficulties to anticipate?
Difficulties, pay attention to the proportions because in fact what is interesting is this very long tail. I think the same with a shorter tail is less elegant.
Yes of course.
Arrange so that it fits into the sheet. It seems obvious like that but we sometimes have surprises, and then it’s playing with the graphics to create shadows and lights while respecting …
Drawing of a parrot
This rendering of the pen there.
Yes, that's it. The interplay of shadows and light needs to subtly enhance the graphics from the pen.
And it is indeed the case.
Here is.
Now, at work, have fun.
Easy parrot drawing
Drawing of a parrot material:
– Pencil: for basic sketching.
– Felts: for enhancing and giving depth.
– Crumb eraser: for erasing without leaving smudges.
– Smooth multi-technique paper: for accommodating various artistic techniques.
Parrot drawing
Templates

Drawing a parrot

Parrot art
How to draw a parrot easy
SOURCE:Art for Kids Hub
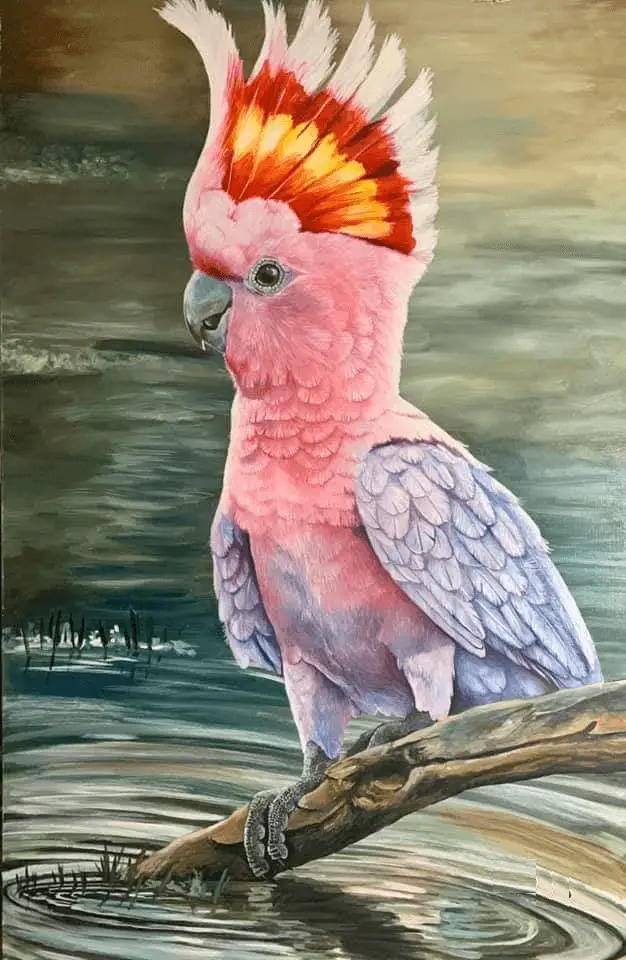
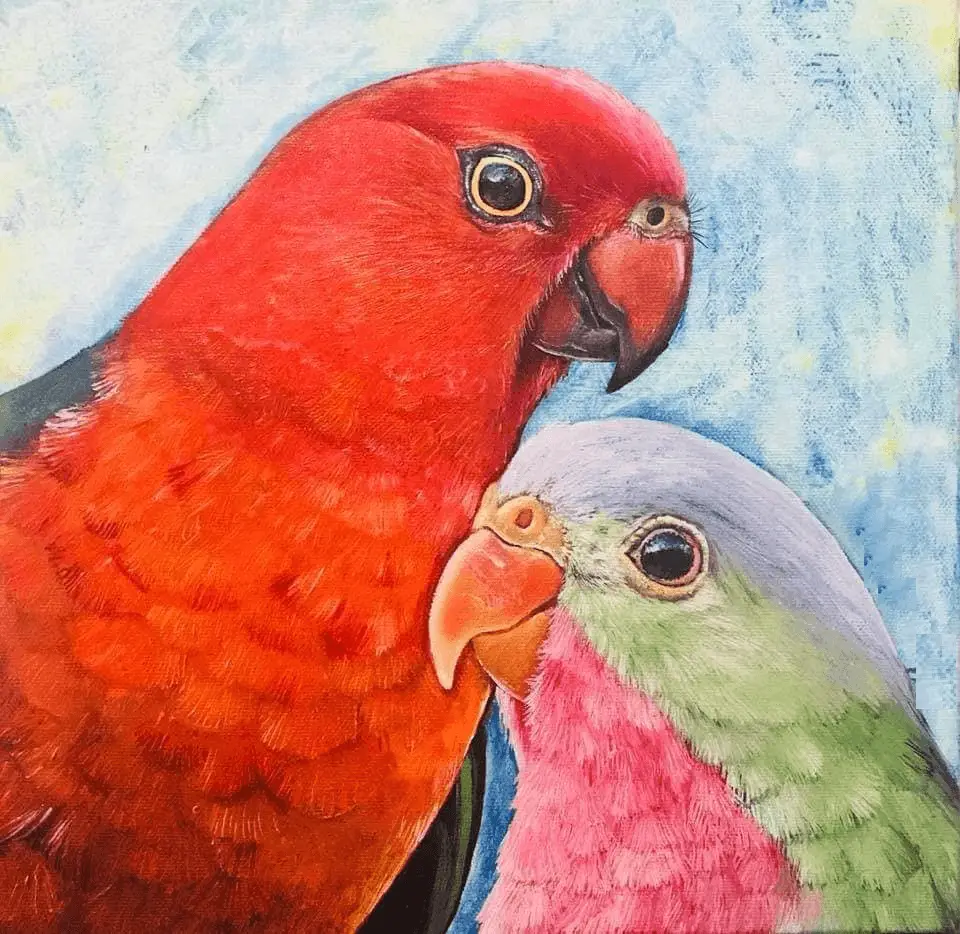
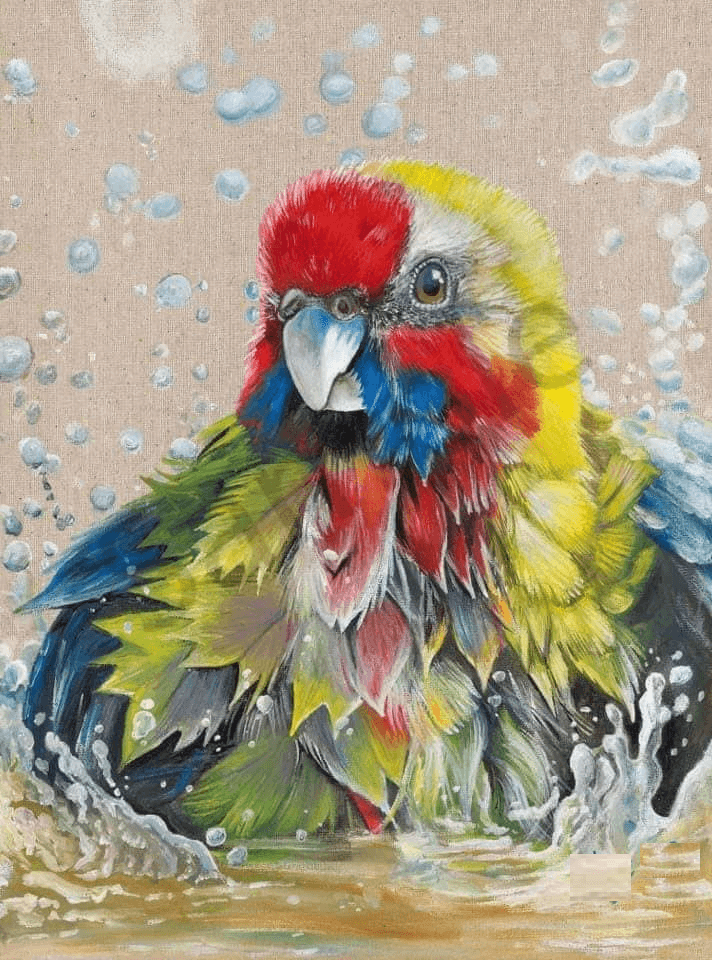
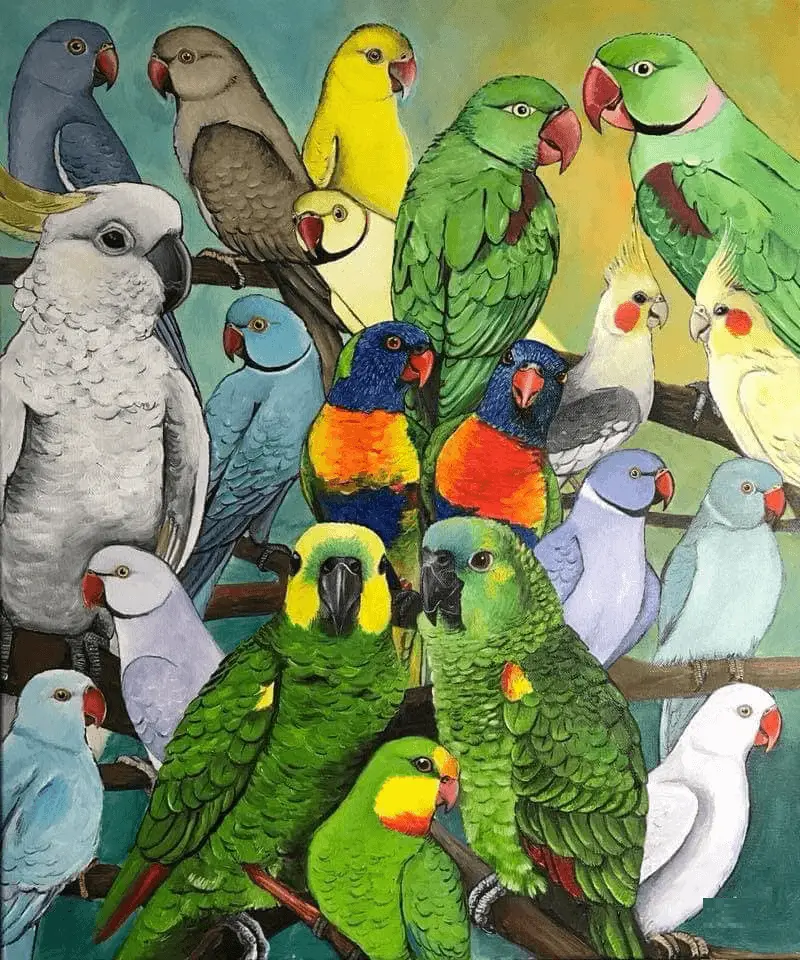
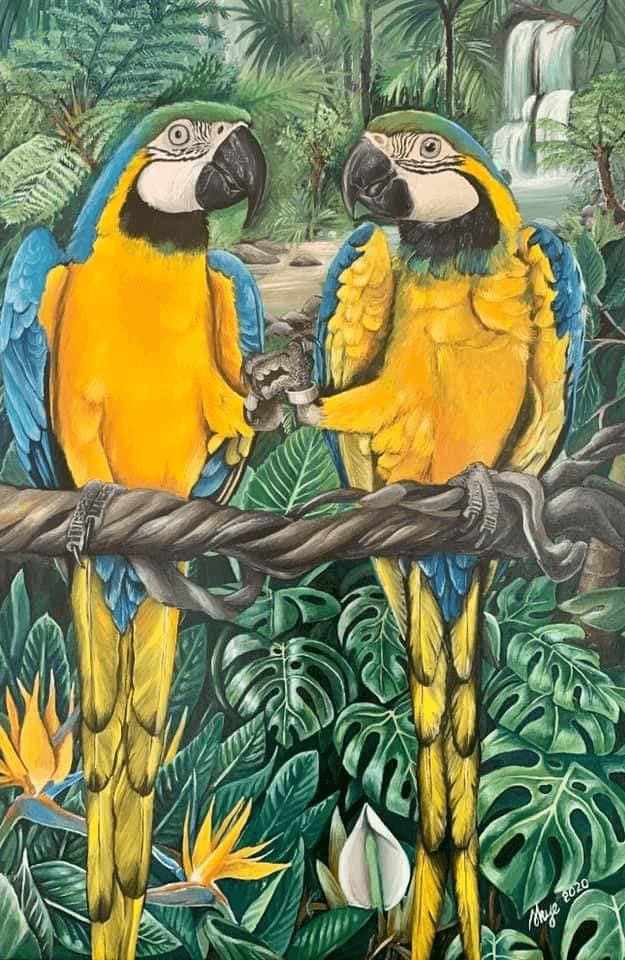
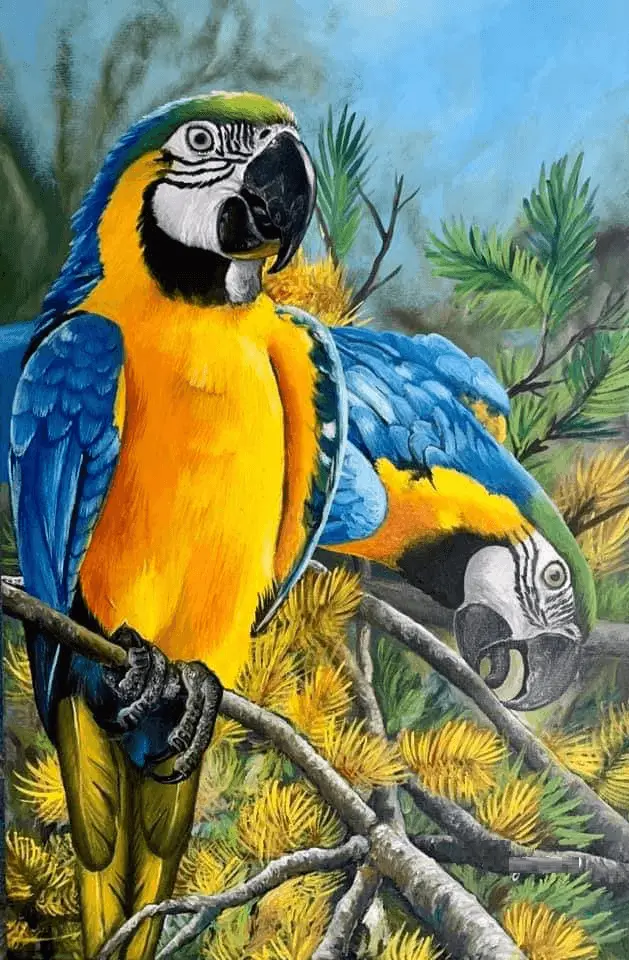
Colorful parrots
Find parrot painting images
Check out our parrot painting selection for the very best
Parrot Drawing
Parrot Drawing

Drawing of a parrot
Parrot draw